When a new Variant project of project type Standard is created a new Feature Model is also created with a root feature of the same name as the project's name followed by Features . This name can be changed using the Properties dialog of the feature. To create child features, use the New entry of the context menu of the intended parent feature. A New Feature wizard allows a unique name, a visible name, and the type of the feature and other properties to be specified. All properties of a feature can be changed later using the Properties dialog.
The figure below shows a small example Feature Model for a car.
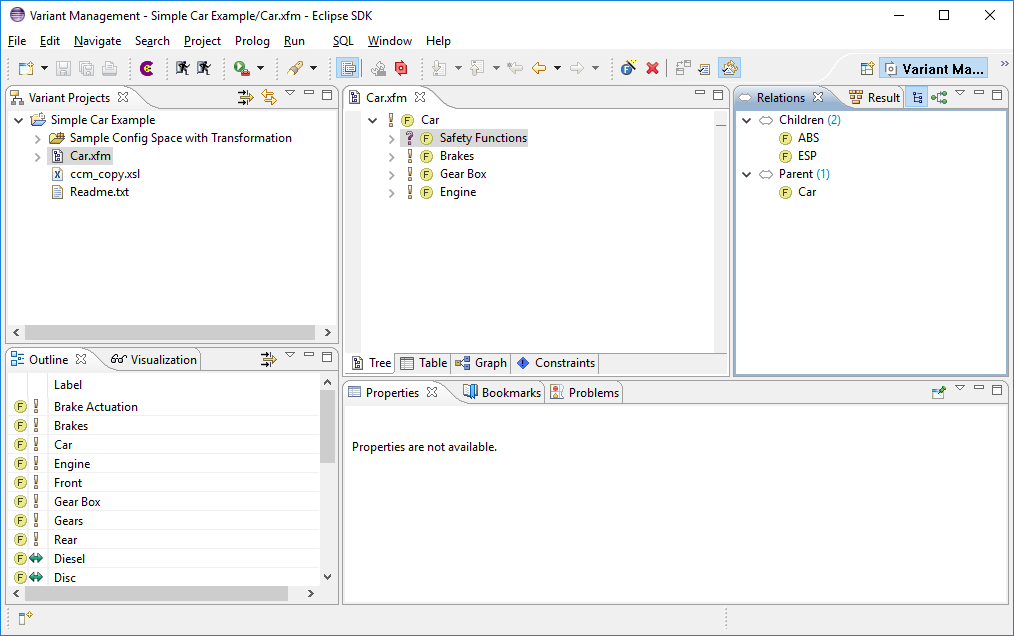
The Outline view (lower left corner) shows configurable views of the selected Feature Model and allows fast navigation to features by double-clicking the displayed entry.
The Properties view in the lower middle of the Eclipse window shows properties of the currently selected feature.
The Table tab of the Feature Model Editor (shown in the lower left part) provides a table view of the model. It lists all features in a table, where editing capabilities are similar to the tree (same context menu, cell editors concept...). It allows free selection of columns and their order.
The Details tab of the Feature Model Editor provides a different view on the current feature. This view uses a layout and fields inspired by the Volere requirements specification template to record more detailed aspects of a feature.
The Graph tab provides a graphical representation of the Feature model. It also supports most of the actions available in the feature model Tree view.
The Constraints tab contains a table with all constraints defined in the model supporting full editing capabilities for the constraints.