The pure::variants Desktop Client can be installed using the pure::variants installer as a stand-alone application or it can be installed into an existing Eclipse based tool chain. For both ways to install pure::variants we recommend to use the pure::variants installer.
The pure::variants installer is available for Windows only. If the operating system platform is Linux or MacOS X, pure::variants needs to be installed into an existing Eclipse instance. See Section 3.1.2, “Install into an existing Eclipse”.
In case of very strict firewalls or no network access on the installation machine either install pure::variants as a stand-alone application. (Section 3.1.1, “Install with pure::variants Installer”) or install pure::variants into an existing Eclipse instance using an update site. ( the section called “Using update site”). These installation methods allow you to first download the installation packages and install pure::variants afterwards.
The installation procedures are described below. Once the initial installation has finished, installation of a license is required to use pure::variants. See following section for more information on license installation.
This installation method is available for Windows only. If you do not use Windows please see Section 3.1.2, “Install into an existing Eclipse”.
To be able to successfully install the pure::variants Desktop Client you need to following:
pure::variants Desktop Client license
If a floating license is used additionally the license server URL is needed to be able to connect and obtain a license form the license server.
pure::variants Desktop Client installer or pure::variants update site
supported 64-Bit Java version installed
The Windows Installer can be download from the pure::variants product web page. Go to https://www.pure-systems.com/pvde-update. The product download pages are protected by a password. You need to login by using the email address and the registration number from the license file.
Download the installer package ("pure::variants Windows Installer Package") and extract it. The installer will set up a fresh Eclipse with pure::variants and documentation. Start the installation by double-clicking "Setup Enterprise X.Y.ZZ.exe". Running the pure::variants enterprise installer requires Administrator privileges.
All pure::variants extensions available for the account are automatically included in the Windows Installer download. However, some may not be enabled by default in Installer. Make sure to select the desired extensions during the installation process. Later updates to the extension selection can be done either by reinstalling pure::variants or by following the alternatives described in the section called “Using update site”.
Click Next.
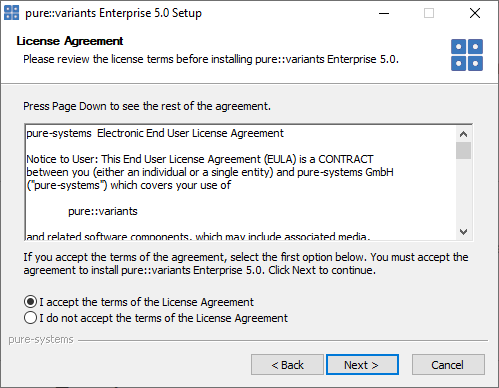
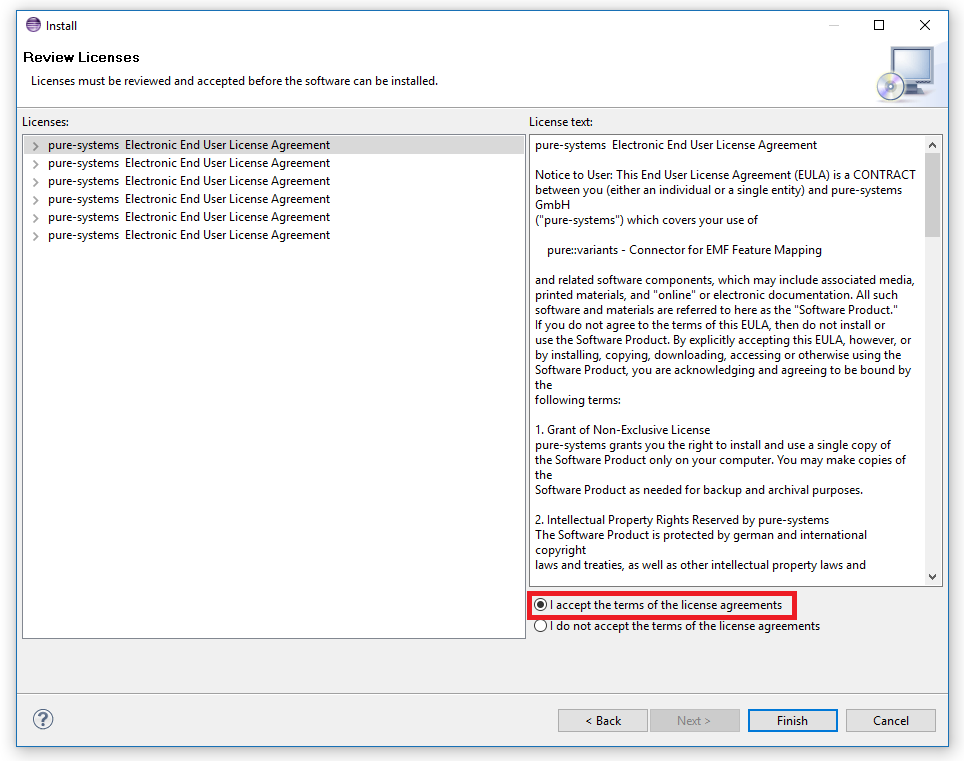
Read the license agreement and after accepting it click Next.
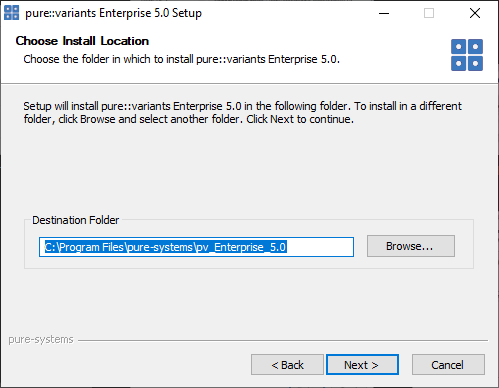
Select the folder where to install the pure::variants Desktop Client files. Click Next.
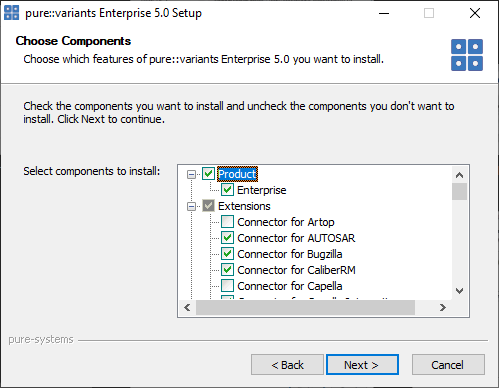
Select the connectors which shall be installed with the pure::variants Desktop Client. Click Next after the feature selection is complete.
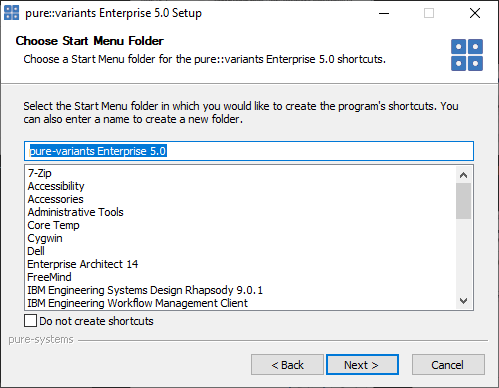
Enter the name for the Windows start menu entry, or disable the creation of the start menu entry. Click Next
The next pages may show information about pure::variants integrations, which are installed along with the pure::variants Desktop Client. If no connector was selected providing an integration, this page will show the Install button.
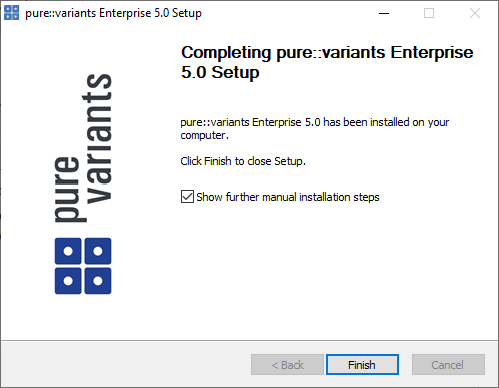
Click Install to start the installation process.
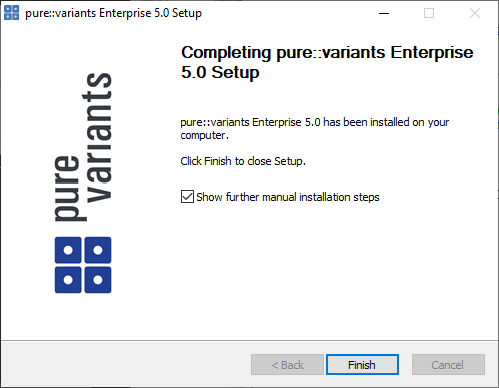
The Option Show further manual installation steps will open a text document showing more information about the installed integrations and possible manual installation steps, which have to be performed for the integrations to work properly.
The pure::variants installer provides the following command line options:
Table 1. pure::variants Installer Command Line Options
| Option | Description |
|---|---|
| /S | Run the installation in silent mode. No
installation dialog is opened. Automatically installs the default selected software packages, or all if used together with option /ALL. |
| /UPDATE /S | To update an existing installation in silent mode. Same as silent installation, no dialog is opened. |
| start "" /WAIT "Setup.exe" /UPDATE /S | To update an exsiting installation in silent mode. Same as silent installation, no dialog is opened, but ensures installer not running in background. |
| /ALL | Select all packages for installation. |
| /NODOTNET | Skip installation of the .NET 4 Framework. |
| /NOINTCOMP | Skip installation of the integration components for Java & .NET. |
| /JAVA | Location of the Java executable to be used for the
installation. Example: /JAVA="C:\Program Files\Java\jre6\bin\java.exe" |
| /ECLIPSE | Path to an existing Eclipse installation into which
to install pure::variants as a feature, instead of
installing pure::variants as a stand-alone application.
This directory must contain the file eclipsec.exe. Example: /ECLIPSE="C:\Program Files\Eclipse 3.8\eclipse" |
| /D | Path to the directory where to install the
pure::variants stand-alone application. Must be the last option on the command line and must not contain any quotes, even if the path contains spaces. Example: /D=C:\Program Files\pure-variants |
Example commandline with JAVA path:
"D:\5.x.x\pure-variants Setup 5.x.x\Setup Enterprise 5.x.x.exe" /JAVA="C:\Program Files\Java\jre1.8.0_231\bin\java.exe"
The pure::variants Desktop Client installer has a silent mode. This mode installs the pure::variants Desktop Client without user interaction by just using the standard settings of the pure::variants Desktop Client installer also considering further options on the command line.
To do this, call the installer with command line option /S. See the section called “pure::variants Enterprise Installer Command Line Options” for all available command line options.
It is also possible to run the update in background or silent mode to update an existing installation. Note that there will be no console output as well.
To do this, call the installer with command line option /UPDATE /S. To run it in silent mode but not in background start "" /WAIT "Setup.exe" /UPDATE /S can be used. See the section called “pure::variants Enterprise Installer Command Line Options” for all available command line options.
pure::variant can be installed into an existing Eclipse based tool chain. To install pure::variants, the pure::variants installer package download from the pure::variants updatesite can be used. We recommend this for all Windows users.
Alternatively the pure::variants update site can be used directly with the Eclipse client. You can also download an archived update site from the pure::variants update site and use this with the Eclipse client (See the section called “Using update site”).
pure::variants needs to following features to already be installed in the target Eclipse, or the Eclipse instance has to have access to the Eclipse release update site.
JavaScript Development Tools
org.eclipse.wst.jsdt.feature.feature.group
Eclipse Business Intelligence and Reporting Tools (BIRT)
org.eclipse.birt.feature.group
Graphical Modeling Framework
org.eclipse.gmf.feature.group
The installation into an existing Eclipse instance is done the same way as installing pure::variants as stand-alone application (See Section 3.1.1, “Install with pure::variants Installer”).
There is one difference: the target Eclipse has to be defined with the /ECLIPSE command line option.
Start pure::variants (or the Eclipse into which pure::variants has been installed).
Select "Help"->"Install New Software...".
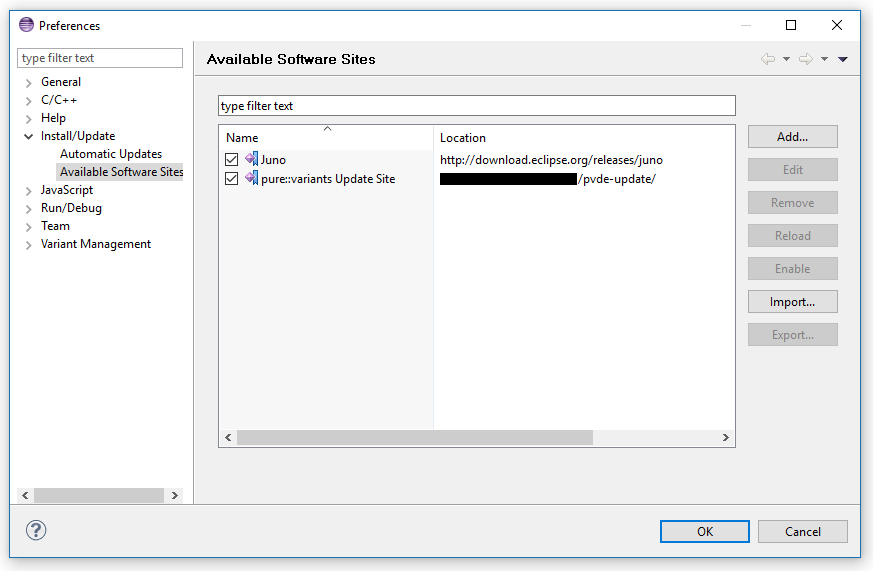
Select "pure::variants update site" from the available Software Sites.
If location "pure::variants update site" is not present, enter your location in the edit field, or press "Add" if you have a local update site at hand.
The location of the site depends on the pure::variants product variant. Visit the Parametric Technology web site (https://www.pure-systems.com) or read your registration email to find out which site is relevant for the version of the software you are using.
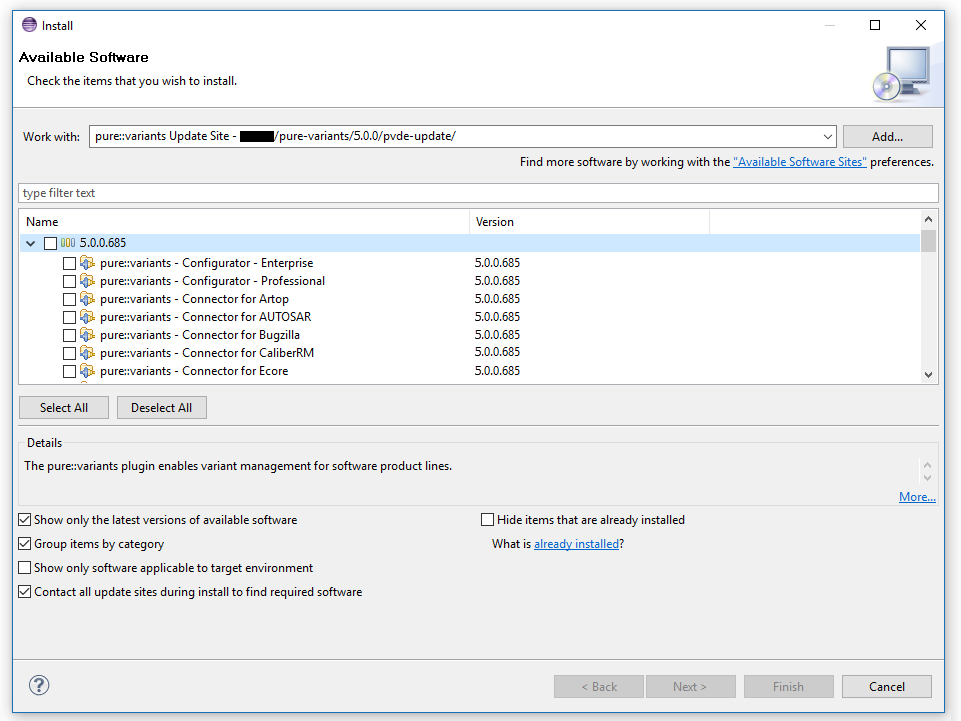
Unfold the pure::variants update site and select all features to be updated. Select "Next".
Accept license, hit "Next" and then "Finish".
In the dialog select "Install all".
Restart pure::variants when asked for.
If the direct remote update is not possible (often due to firewall/proxies preventing Eclipse accessing external web sites), please go to the web site using an Internet browser:
For pure::variants Evaluation use https://www.pure-systems.com/pv-update
For pure::variants Enterprise use https://www.pure-systems.com/pvde-update
and download the "Complete Updatesite" archive:
Start pure::variants (or the Eclipse into which pure::variants has been installed).
Select "Help"->"Software Updates"->"Find and Install...".
Select "Search for new features to install" and "Next".
Click on button "Archived Update Site" or "Local Update Site".
Use "Browse" to select the downloaded archive file.
Press "Ok". The pure::variants update site from the archive should be selected.
All other check boxes should be unselected to speed up the process. Press "Finish".
Unfold everything below pure::variants update site and select all features to be updated. Select "Next".
Accept license, hit "Next" and then "Finish".
In the dialog, select "Install all".
Restart pure::variants when asked for.
This update method is available for Windows only. If you do not use Windows please see Section 3.2.2, “Update with Update Action” or Section 3.2.3, “Update with Eclipse package manager”.
The Windows Installer can be downloaded from the pure::variants product web page. Go to https://www.pure-systems.com/pvde-update. The product download pages are protected by a password. You need to login using the email address and the registration number from the license file.
Download the installer package ("pure::variants Windows Installer Package") and extract it. The installer will check for an existing pure::variants Desktop Client installation and start in update mode if it finds one. Start the update by double-clicking "Setup Enterprise X.Y.ZZ.exe". Running the pure::variants enterprise installer requires administrator privileges.

Click Next.

Read the license agreement, and after accepting it click Next.
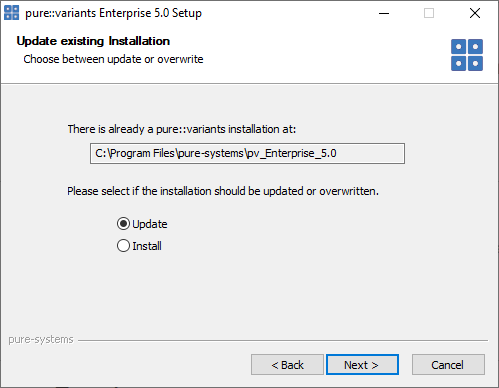
Choose Update if the current pure::variants Desktop Client installation shall just be updated with the same installed feature and settings. The installed pure::variants integrations will also be updated. The installed components cannot be changed. If a change of the installed components is wanted, choose Install mode.
Or choose Install if the current pure::variants installation shall be removed and a new fresh pure::variants Desktop Client shall be installed. The Install option runs the installer as described in Section 3.1.1, “Install with pure::variants Installer”. Please see this section for further installation steps.
Click Next.
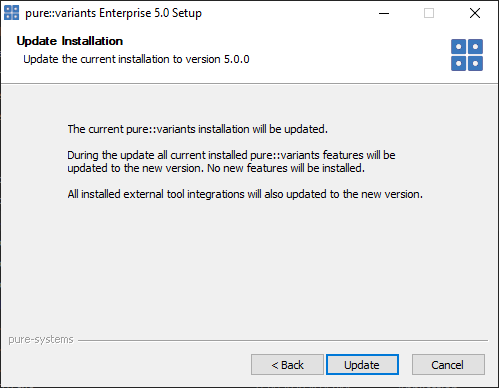
Click Update to start the update process.
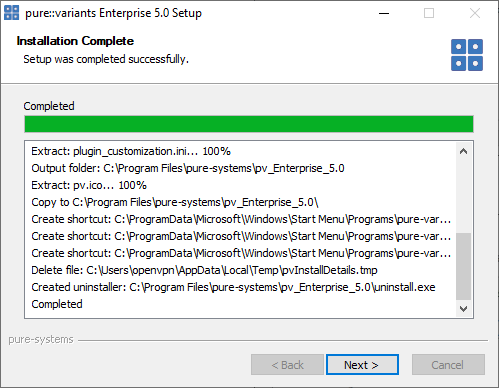
This page is showing the installation details. Click Next after this is finished.
The Option Show further manual installation steps will open a text document showing more information about the installed integrations and possible manual installation steps, which have to be performed for the integrations to work properly.
pure::variants has a built-in update action which can be used to perform an update with all the currently installed pure::variants extensions. This update action does not update the installed pure::variants integrations automatically. But they can be easily updated with the Tool Integration Update action. See Section 6.2, “Update pure::variants Tool Integrations” for the detailed description.
The update action requires administrator privileges.
Note
The pure::variants Desktop Client restarts automatically after the update process finished. So please make sure that all open editors are saved and closed before continuing.
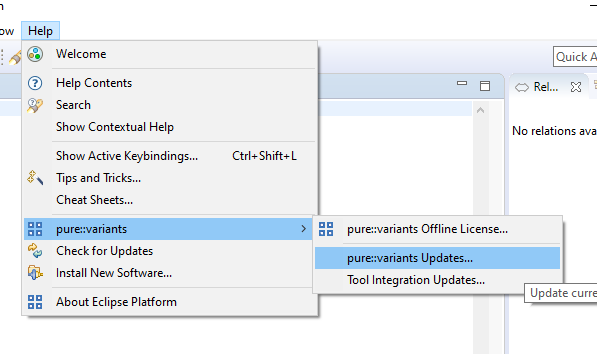
Start the pure::variants Desktop Client update with the pure::variants Updates... action from the pure::variants Help menu. The action can be found in the pure::variants sub-menu.
If the pure::variants Desktop Client is not started as Administrator, a dialog comes up to inform that pure::variants has to be started as Administrator.
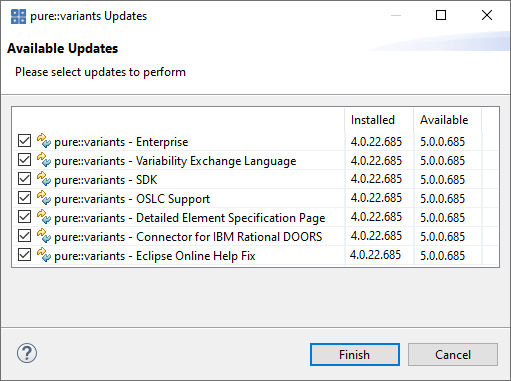
A dialog comes up and shows all available updates. Select the features to update an click Finish. The update process starts and shows the progress in the same window.
After the update process finished, the pure::variants Desktop Client restarts automatically.
The quickest way to get a update for pure:.variants is to run the software updater inside pure::variants:
Start pure::variants (or the Eclipse into which pure::variants has been installed).
Select "Help"->"Install New Software...".
Select "pure::variants update site" from the available Software Sites.
If location "pure::variants update site" is not present, enter your location in the edit field, or press "Add" if you have a local update site at hand.
The location of the site depends on the pure::variants product variant. Visit the Parametric Technology web site (https://www.pure-systems.com) or read your registration email to find out which site is relevant for the version of the software you are using.
Unfold the pure::variants update site and select all features to be updated. Select "Next".
Accept the license, hit "Next" and then "Finish".
In the dialog select "Install all".
Restart pure::variants when asked for.
If the online update is not possible (often due to firewall/proxies preventing Eclipse accessing external web sites), please go to the web site using an Internet browser:
For pure::variants Evaluation use https://www.pure-systems.com/pv-update
For pure::variants Enterprise/Professional use https://www.pure-systems.com/pvde-update
and download the "Complete Updatesite" archive:
Start pure::variants (or the Eclipse into which pure::variants has been installed).
Select "Help"->"Software Updates"->"Find and Install...".
Select "Search for new features to install" and "Next".
Click on button "Archived Update Site" or "Local Update Site".
Use "Browse" to select the downloaded archive file.
Press "Ok". The pure::variants update site from the archive should be selected.
All other check boxes should be unselected to speed up the process. Press "Finish".
Unfold everything below pure::variants update site and select the features to be updated. Select "Next".
Accept the license, hit "Next" and then "Finish".
In the dialog select "Install all".
Restart pure::variants when asked for.
The uninstaller for the pure::variants Desktop Client can be started in two different ways. The first is to go to the Windows Add or remove programs application and search for pure::variants Enterprise and start the uninstaller by using the Uninstall action. The uninstaller requires Administrator privileges.
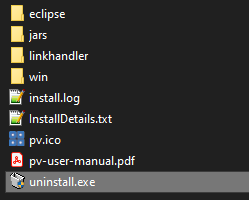
The second way is to navigate to the pure::variants Desktop Client installation folder and start the uninstaller by double clicking it.
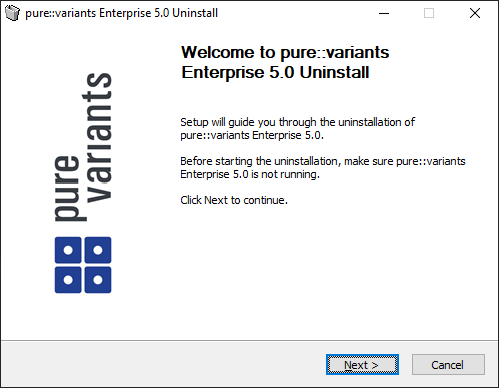
Click Next.
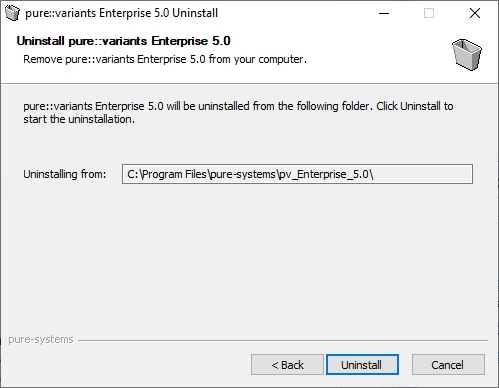
Click Uninstall to start the uninstall process.
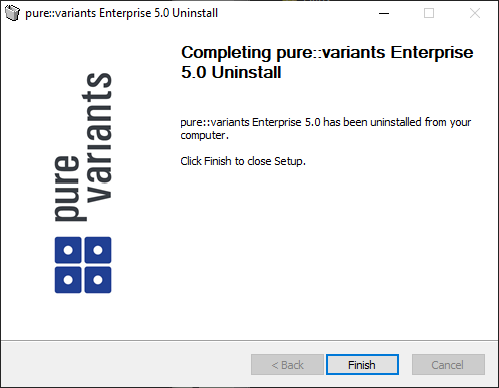
Click Finish to close the uninstaller.
There are two ways to remove pure::variants from an Eclipse instance. You can use the Eclipse command line or remove the pure::variants features one by one in the running Eclipse Instance. Either way a cleanup of the Eclipse instance has to be performed afterwards.
If the Eclipse instance is not needed anymore you can just remove the whole Eclipse installation from the file system. If the Eclipse is of further use, follow one of the installation methods.
To remove an installed feature from Eclipse using the Eclipse client, open the About Eclipse Platform dialog with the About Eclipse Platform action in the Help menu.
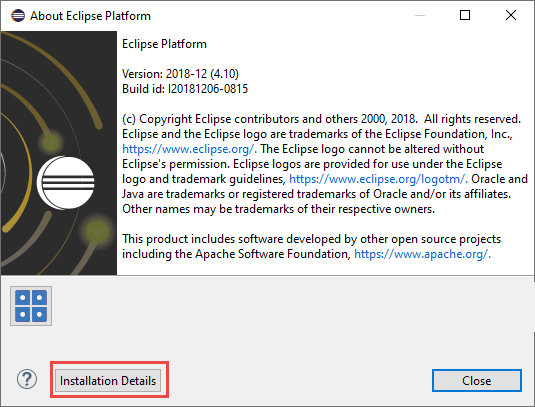
Use the Installation Details button to access the installation details.
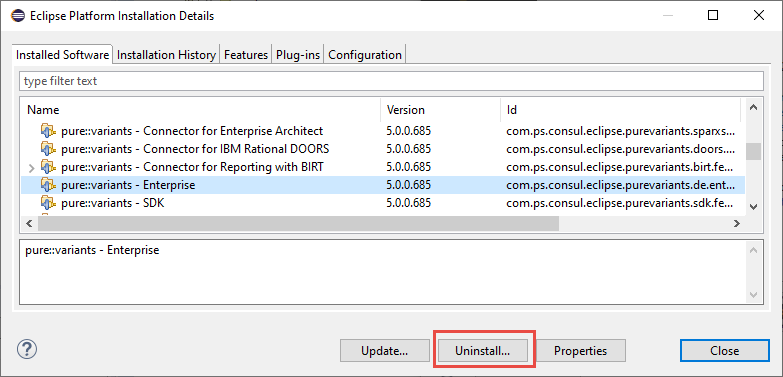
Use the Uninstall button to start the uninstallation of the selected features. Selecting multiple features at once is possible.
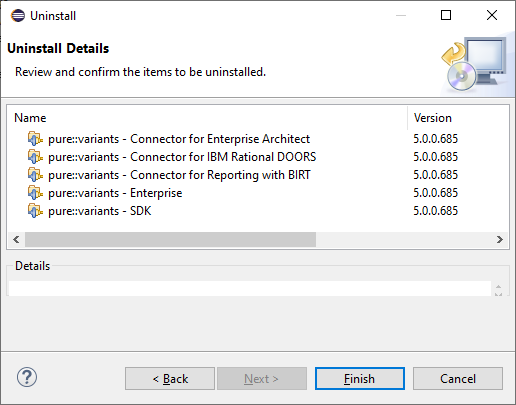
Click Finish to start the uninstall process. After it finished, Eclipse will prompt you to restart the application. Click Restart to finish the uninstallation.
To use the uninstall application you need the feature ids of the features you want to uninstall. The feature ids can be found in the About Eclipse Plattform dialog. Open the dialog with the About Eclipse Platform action in the Help menu.
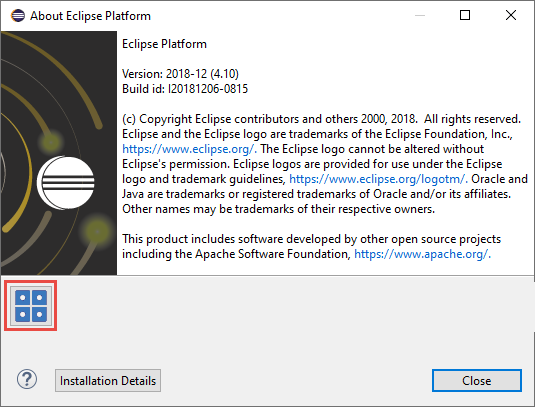
Click on the pure::variants icon.
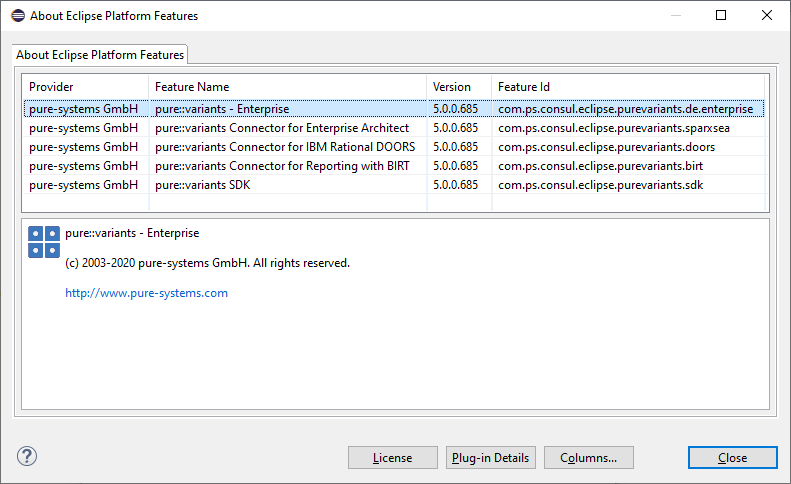
The feature ids are listed in the Feature Id column of the upcoming dialog. All feature ids have to be extended by ".feature.group" and are concatenated with ",". The feature id list for the example shown in the previous figure would be:
com.ps.consul.eclipse.purevariants.sparxsea.feature.group,com.ps.consul.eclipse.purevariants.
birt.feature.group,com.ps.consul.eclipse.purevariants.de.enterprise.feature.group,com.ps.
consul.eclipse.purevariants.doors.feature.group,com.ps.consul.eclipse.purevariants.sdk.
feature.group
The resulting list of feature ids is used in the following command.
"<Eclipse Installation Directory>\eclipsec.exe" -nosplash --launcher.suppressErrors -application
org.eclipse.equinox.p2.director -uninstallIU "<list of feature ids>" -data "ws" -vmargs
-Dequinox.ds.block_timeout=120000
-Dorg.eclipse.ecf.provider.filetransfer.retrieve.readTimeout=120000
-Declipse.p2.mirrors=false -Xms100m -Xmx2048m -Xmnx64m -Xgcpolicy:gencon
-XX:MaxPermSize=512M -Xcompressedrefs
pure::variants stores some settings, license and log files at two locations in the file system. On Windows the first one is C:\Users\<user name>\AppData\Roaming\pure-variants-6, and the second C:\ProgramData\pure-variants-6. On Linux based systems the pure-variants-6 folders are located in the users home directory and at /usr/share. These folders should be removed after pure::variants has been completely removed from the computer.
To clean up the Eclipse instance, run the following command.
"<Eclipse Installation Directory>\eclipsec.exe" -nosplash --launcher.suppressErrors -application
org.eclipse.equinox.p2.garbagecollector.application -data "ws" -vmargs
-Dequinox.ds.block_timeout=120000
-Dorg.eclipse.ecf.provider.filetransfer.retrieve.readTimeout=120000
-Declipse.p2.mirrors=false -Xms100m -Xmx2048m -Xmnx64m -Xgcpolicy:gencon
-XX:MaxPermSize=512M -Xcompressedrefs
A valid license file is required in order to use pure::variants. If pure::variants is started and no license is present, then the user is prompted to supply a license. Select the Yes button and use the file dialog to specify the license file delivered with pure::variants. The specified license will be stored in the user's application data directory. If you are using multiple workspaces then the license file has to be installed only once. The pure::variants integrations also use the installed license and thus no further setup step is needed here.
To replace an existing pure::variants license, start pure::variants and open the Preferences (menu Window -> Preferences). Navigate to Variant Management -> pure::variants License and use the Install License button to select the new license.
The pure::variants client license can also be defined using the PVLICENSE environment variable. This variable has to define the fullpath to a license file. If this variable is defined the given license file is used and the user does not need to define the license for pure::variants client instances.
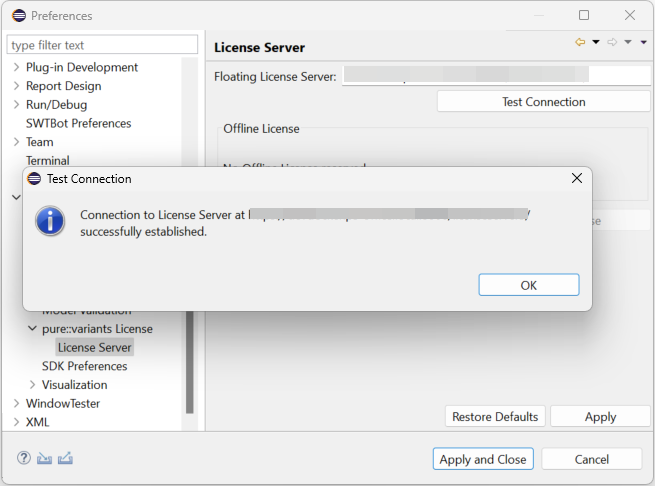
The next step is necessary only if a floating license with a pure::variants license server is used. The license server URL can be provided with the floating license file, or it has to be set by the user.
To set the license server URL, open the sub page Variant Management -> pure::variants License -> License Server and enter the URL of the license server into the Floating License Server text field, click button Test Connection to check that the connection is successful.
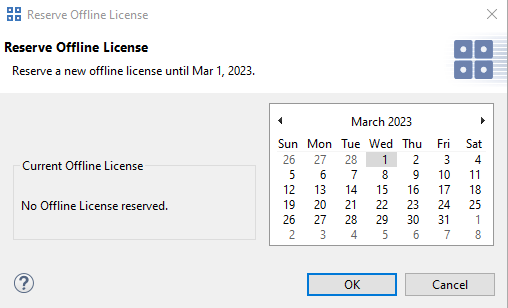
Click button Reserve Offline License to choose how long the license shall be reserved.
If pure::variants is not explicitly asking for a new license, the update can be forced by starting pure::variants and opening menu Window -> Preferences. Select Variant Management -> pure::variants License and install the license using the provided Install button.
For central or automatic deployed pure::variants Desktop Clients it may be necessary to also automatically deploy or update the pure::variants Desktop Client license. For this use case the variable PVLICENSE can be used. This variable can either be introduced as an environment variable or just added as a Java property to the command line starting pure::variants. If this variable is set, the given license is used instead of a possibly previously installed license.
Example for the command line parameter: -DPVLICENSE=C:/absolute/path/to/the/license/file.lic
If pure::variants is low on memory it can result in out of memory errors or causing pure::variants to run very slow since Java is trying to free up memory constantly by running the garbage collector.
To solve that problem pure::variants needs to be enabled to use more memory. This can be done by editing the eclipse.ini file, which is located in <pure::variants installation path>\eclipse\eclipse.ini.
Add the following three lines to the end of the ini file, if not existing yet. The first line tells Eclipse that there are Java Virtual Machine options following. Xms defines the minimal amount of memory Java is reserving. Xmx defines the maximum amount of memory Java is allowed to use. The default value is 1024 MB. We recommend to set the value to 6144 MB .
-vmargs
-Xms40m
-Xmx6144m
Note
If Eclipse does not start after the eclipse.ini was changed, the maximum amount of memory defined is not valid. There are multiple reasons for this, e.g. Java could not reserve enough memory. Try to decrease the defined maximum memory.